How to Build a DIY Infrared Sauna: Costs, Components, and Honest Expectations
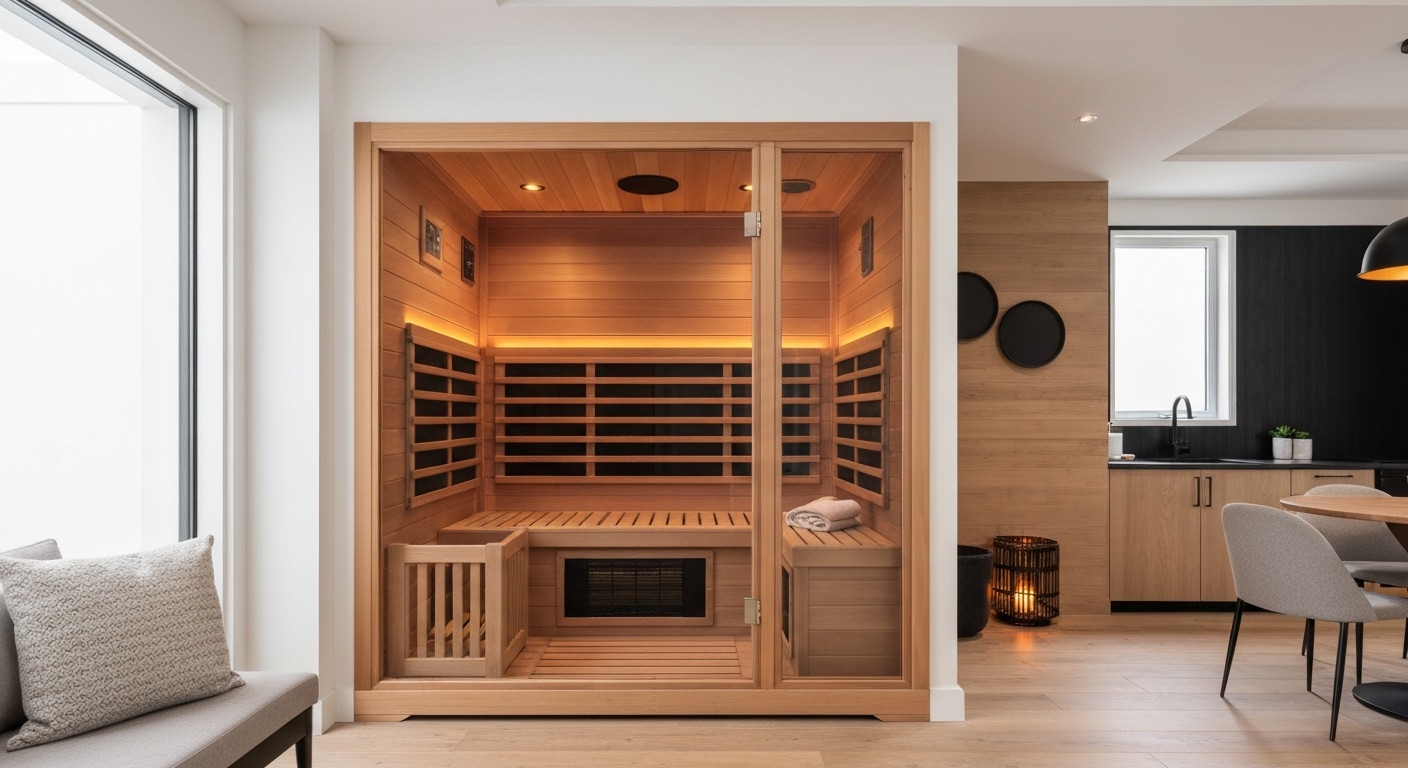
A 2-person infrared sauna is a realistic weekend project for anyone who has framed a wall or built a shed. This is not an IKEA build - but it is not advanced carpentry either. Here is what you actually need, what it costs, and where the real decisions are.
- 01A 1-person DIY build costs roughly $1,500-$2,800; a 2-person build $2,550-$4,650 at 2025-2026 US prices.
- 02Foil-faced insulation is mandatory - standard fiberglass does not reflect far infrared back into the cabin.
- 03Always hire a licensed electrician for the dedicated circuit. Budget $200-$800 regardless of sauna size.
- 04DIY wins on wood quality and low-EMF panel choice; budget pre-builds ($1,800-$2,500) are hard to beat on total cost alone.
Is a DIY Build Actually Worth It?
The honest answer depends on where you are in the price range. Budget pre-built units from Maxxus, JNH Lifestyles, and similar brands land at $1,800-$2,500 assembled. If that is your ceiling, you will likely spend more building than buying once you account for your time.
The DIY value proposition kicks in at the $3,000-$5,000 mid-range. Pre-built saunas at this price often use lower-grade lumber, mixed heater types, and digital controllers that do not let you verify panel output. When you build, you control every component: the wood species, the heater brand and EMF rating, the panel placement, and the insulation type. You also control the interior dimensions, which matters if you have a specific wall cavity or want an unusually narrow or tall cabin.
Skill requirement: you need basic framing and carpentry. If you have built interior partition walls, a garden shed, or anything requiring accurate cuts and level assembly, you can build this sauna. It is not finish carpentry - the tongue-and-groove interior planking goes up fast once the frame is done.
Budget 2-4 weekends for carpentry. Electrical adds 1-2 weeks for scheduling. Total project from material purchase to first session: 3-6 weeks. Do not start this project if you need a sauna in two weeks.
The Components You Need
A DIY infrared sauna has seven core component categories. Each involves a real decision, not just a price lookup.
1. Carbon Infrared Heater Panels and Controller
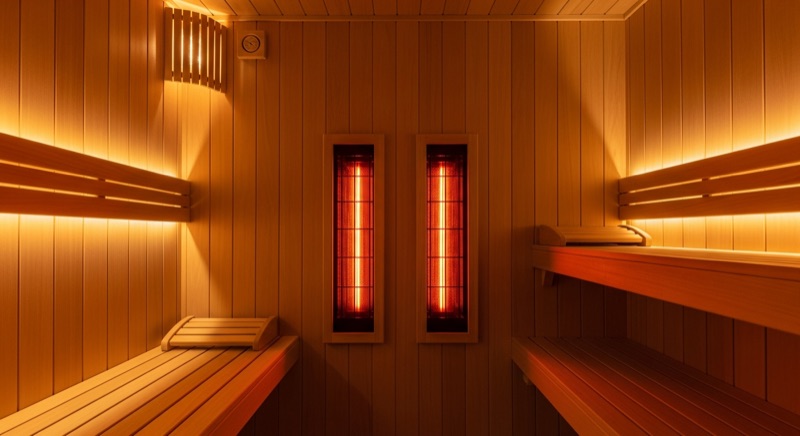
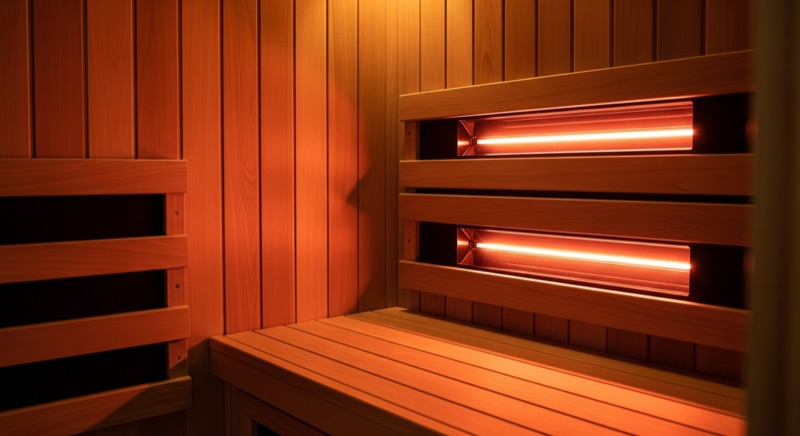
Carbon fiber panels are the standard for home infrared saunas. They produce a broad, even heat output with a peak emission around 9 microns - this matches the human body's own peak infrared emission, which is why far infrared feels different from conventional radiant heat. For a 2-person cabin (roughly 4 feet by 4 feet by 7 feet tall), you need 1,500-2,000W of panel coverage. A typical setup covers the back wall, two side walls, and optionally a low calf panel.
Sourcing options: Saunafin and SaunaCore sell panel kits sized for common cabin dimensions. You can also source panels directly from suppliers and pair them with a separate controller. If EMF is a priority, buy panels with documented low-EMF specs and test with a gaussmeter after installation - some panel wiring configurations reduce EMF significantly compared to others. The controller (digital thermostat + timer) is sometimes bundled, sometimes sold separately for $100-$300.
For a 2-person sauna on Amazon, look for carbon heater panel kits rated 1,500-2,000W with a digital controller included. Filter by seller reviews that specifically mention low EMF readings.
2. Wood: Cedar, Hemlock, or Basswood
The three practical choices for infrared sauna interiors:
- CedarMost popular. Naturally aromatic, antimicrobial, and dimensionally stable in heat-humidity cycles. The scent is pronounced - some people love it, some find it overpowering.
- HemlockDenser than cedar, no aroma. Good if you want the structural properties without the scent. Slightly harder to work with hand tools.
- BasswoodLightest of the three, completely odorless. Best option for people with fragrance sensitivities or chemical allergies. Less commonly stocked at lumber yards.
Use kiln-dried tongue-and-groove boards, typically 1x4 or 1x6 profile. Leave the wood completely unfinished - no stain, no sealant, no paint. Finishes off-gas when heated and will fill a sealed cabin with fumes you do not want to inhale at 140 degrees Fahrenheit.
3. Foil-Faced Insulation
This is the most commonly skipped specification in DIY guides and the most consequential. Standard fiberglass batt insulation absorbs far infrared. Foil-faced insulation reflects it back into the cabin, which is how an infrared sauna maintains efficient heat distribution. Use foil-faced rigid foam or foil-faced fiberglass on all walls and the ceiling. The foil faces the interior.
Add a vapor barrier on the exterior side of the wall assembly to prevent moisture migration into the stud cavities. This matters most in humid climates or if the sauna is in a basement.
4. Bench
2x6 cedar construction, sanded to 220 grit for smooth bare-skin contact. No stain or sealant - same reasoning as the wall planking. The bench runs the full width of the back wall for a 2-person sauna; some builds add a lower step bench along one side wall. Height: 18-20 inches for the lower bench, 42-46 inches for the upper bench.
5. Door
A full-glass tempered door is the preferred option: it lets light in, makes the cabin feel larger, and allows you to monitor the temperature without opening the door. Solid wood doors work but make small cabins feel more closed in. Buy a pre-hung sauna door if possible - fitting a door to a small cabin frame is one of the trickier carpentry steps in the build.
6. Lighting and Extras
Low-voltage LED strips along the ceiling or bench line. Surface temperature in the cabin tops out around 140-160 degrees Fahrenheit - standard 12V LED strips handle this fine if mounted away from direct panel contact. A chromotherapy (color-changing) LED kit costs $50-$100 and is easy to add at installation time; adding it later requires partial disassembly.
7. Ventilation
Passive vents: a 4-inch by 8-inch vent near the floor for intake and one near the ceiling for exhaust. Infrared saunas need less ventilation than steam rooms because they do not produce humidity. The vents prevent carbon dioxide buildup during longer sessions and allow the cabin to cool and dry out between uses.
Electrical Requirements
This section is non-negotiable: hire a licensed electrician for the dedicated circuit. A wood-lined cabin adjacent to moisture is a fire risk with improper wiring. That said, understanding the requirements helps you have an accurate conversation with your electrician and get an accurate quote.
- 1-person, under 1,500W120V / 15A or 20A dedicated circuit
- 2-person, 1,500-2,000W120V / 20A dedicated circuit
- 3-person or 2,000W+240V / 20-30A - requires electrician quote
Budget $200-$800 for electrical work depending on panel distance from the subpanel, local labor rates, and whether you need a new circuit run or can tap an existing one.
Cost Breakdown by Build Size
2025-2026 US pricing. Ranges reflect sourcing differences and regional lumber costs.
1-Person Build (approx. 3 ft x 3 ft x 7 ft)
2-Person Build (approx. 4 ft x 4 ft x 7 ft)
DIY vs Pre-Built: Honest Trade-offs
Every component in an infrared sauna - carbon panels, LED strips, controllers - draws current in a wood-lined, partially humid environment. A dedicated circuit installed by a licensed electrician is not optional. Do not run the sauna on a shared circuit, extension cord, or GFCI outlet not rated for the load. The risk is fire, not just a tripped breaker.
Build Sequence Overview
There is no single correct sequence, but the following order minimizes rework:
- Frame the exterior walls (2x4 construction) and install foil-faced insulation in all cavities.
- Run rough electrical before closing up the walls - conduit from your subpanel to a junction box inside the cabin.
- Install vapor barrier on exterior wall faces.
- Line the interior with tongue-and-groove planking starting from the floor and working up.
- Mount heater panels to wall blocking or directly to studs per manufacturer spec. Route wiring to junction box.
- Install the door frame and hang the door.
- Mount the bench.
- Install LED lighting and run low-voltage wiring.
- Install passive vents.
- Call the electrician to complete and certify the circuit.
- Install the controller and run a burn-in session (empty cabin at full temp for 30-60 minutes to off-gas any residual manufacturing compounds from the heater panels).