Where to Put an Infrared Sauna: Space, Flooring and Placement
The room you choose decides how often you actually use the sauna, and it is far easier to settle before the pallet arrives. Here is the space each size needs, what each room gets right and wrong, and the measurements to take first.
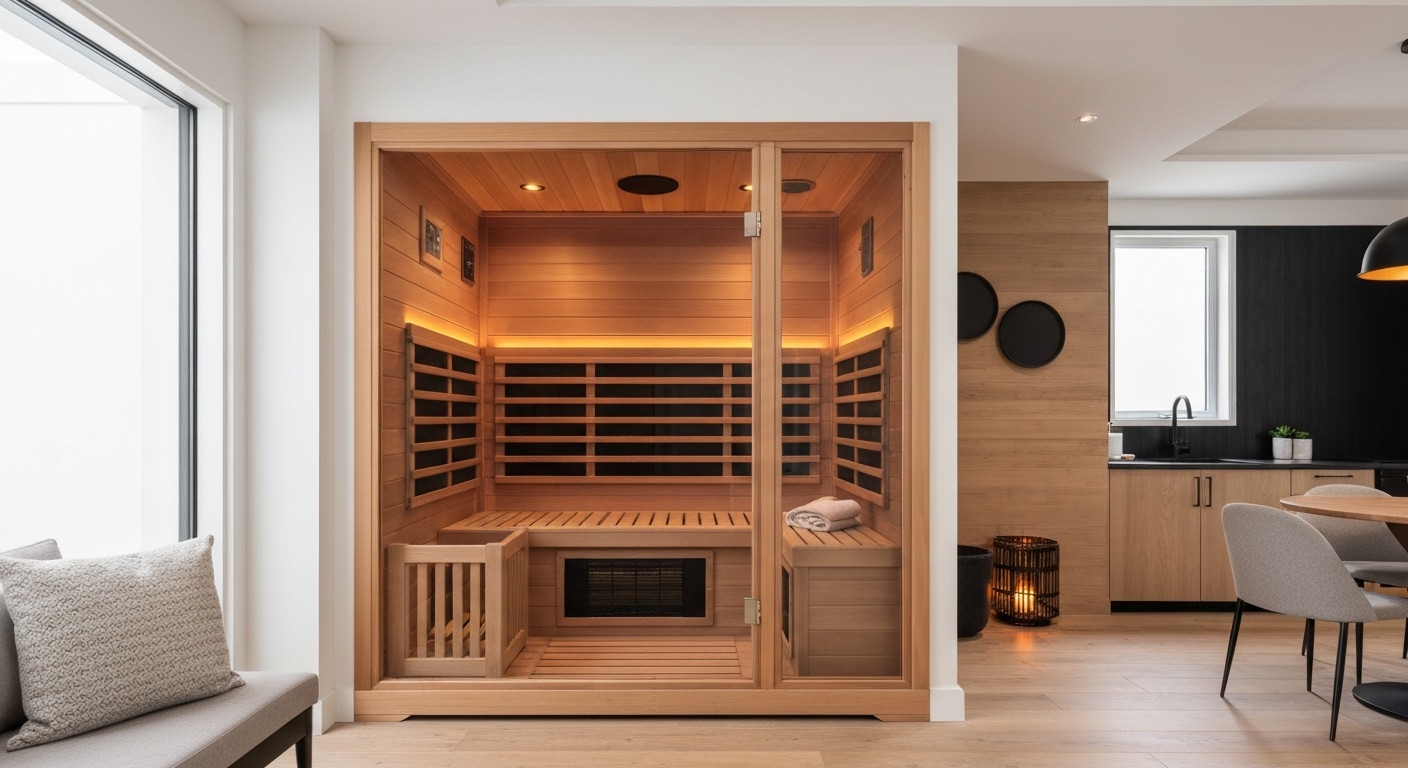
The best spot is a dry, conditioned room with a hard level floor, a ceiling of at least 80 inches, a nearby outlet, and 2 to 4 inches of clearance around the cabin. Usually that means a finished basement, a spare bedroom, or a heated garage. Bathrooms are too humid for cedar, closets are too tight for airflow, and an unheated garage needs a cold-rated unit.
Every figure below is a typical range across common consumer cabins. Confirm footprint, height, weight and ambient range against your own model manual.
How Much Space Does an Infrared Sauna Need?
Start with the footprint, then add clearance. The footprint is printed in every spec sheet. The clearance is what people forget, and it is why saunas end up wedged into a corner with the control panel out of reach.
A 1-person cabin is roughly 36 by 36 inches, a 2-person roughly 48 by 42 inches, and a 3 to 4 person around 60 by 60 inches. Heights are more consistent: most cabins stand 74 to 78 inches, so a standard 8 foot ceiling is fine and a low basement ceiling with ducts under the joists may not be. If you are shopping the small end, our roundup of the best 1-person infrared saunas lists measured footprints rather than marketing numbers.
| Size | Typical footprint | Floor area | Assembled weight | Room space needed |
|---|---|---|---|---|
1-person | 36 x 36 in | 9 sq ft | 200-300 lb | 4 x 4 ft plus door swing |
2-person | 48 x 42 in | 14 sq ft | 300-500 lb | 5 x 4.5 ft plus door swing |
3-person | 55 x 48 in | 18 sq ft | 400-600 lb | 5.5 x 5 ft plus door swing |
4-person | 60 x 60 in | 25 sq ft | 500-750 lb | 6.5 x 6.5 ft plus door swing |
Infrared sauna clearance requirements
Manufacturers usually ask for 2 to 4 inches behind and beside the cabin. That gap lets warm air move around the shell, gives the power cable somewhere to sit uncrushed, and keeps wood off cold plaster where condensation forms.
Assembly access matters more than the airflow gap. Keep one side open by 6 inches or more so you can reach the clips or bolts joining the panels, since that is also where you will work if a heater or controller needs replacing. In front, allow 24 to 30 inches for the door swing. Nearly every cabin door opens outward, which is a safety feature rather than something to design around.
Mark the footprint on the floor with painters tape before ordering, add the clearances, then tape the door swing too. Live with it for a day. It catches what no spec sheet will: a radiator, a light switch, a door that no longer opens.
Room by Room: Where People Actually Put Them
Every room is a trade. The winner is usually whichever one is already dry, already has a hard floor, and sits close enough to a shower that you use the sauna on a Tuesday evening.
Pros Warm, dry, on a household circuit, and close to a shower.
Problems Eats floor space, sweat goes into carpet, and upstairs raises floor loading.
Check Ceiling height, floor surface, and what else shares that circuit.
Pros A slab removes floor loading worries, noise stays put, space is spare.
Problems Humidity, cold slabs, low ceilings, stairwells panels will not fit down.
Check Humidity over a week, headroom under ducts, the tightest turn on the stairs.
Pros Concrete floor, plenty of room, and mess does not matter.
Problems Temperature swings outside the rated range, cold starts, dust, condensation.
Check Minimum ambient temperature in the manual, and how cold it gets in winter.
Pros Hides the cabin and uses dead space in a hallway.
Problems Usually too tight for airflow and assembly access, and it traps heat around the electronics.
Check Whether you can hold 2 to 4 inches all round, open the door, and still get air exchange.
Pros A 1-person plug-in unit fits a corner you are not using.
Problems Lease terms, floor loading in older buildings, neighbours below, moving it out later.
Check Your lease, the outlet rating, and whether two people can take it apart undamaged.
Pros No floor loading question, no indoor humidity, best in cold weather.
Problems Only outdoor-rated cabins survive. Rain, UV and frost kill an indoor unit fast.
Check That the model is outdoor rated, sits on a level pad, and has a GFCI circuit.
Infrared sauna in a basement
A basement is the placement I recommend most often: the slab takes the weight, sessions disturb nobody upstairs, and the space is usually underused. The decision comes down to moisture. Leave a cheap hygrometer down there for a week. Under roughly 60 percent relative humidity suits a cedar or hemlock cabin. Above that, run a dehumidifier, because damp panels can cup and mildew finds the shaded gap behind the cabin first.
The rest is physical. Slabs run cold, so lift the cabin on a mat or low platform instead of setting it straight onto concrete, which cuts condensation and shortens the preheat. Check headroom under ducts and beams, not just mid-room. And measure the stairwell honestly: tightest turn, width at the handrail, ceiling over the stairs. Panels run 60 to 70 inches long and are completely rigid.
Infrared sauna in a garage
Garages tempt people because the floor is already concrete and nobody minds a big box in the corner. The problem is that most indoor cabins are rated for a conditioned room, commonly 50 to 90 degrees Fahrenheit. In an unheated garage in winter you get much longer preheats, higher electricity use, and on some units a controller that refuses to start at low ambient temperatures. Look for a stated minimum ambient temperature in the manual, and treat an uninsulated garage in a cold climate as a reason to insulate or pick another room.
Condensation is the second issue: a cold cabin warming in humid air collects moisture on wood and glass, so prop the door open after every session. Dust is the third, since brake dust and grit settle on benches and in heater grilles. Our guide on how to clean an infrared sauna covers what is safe on untreated wood.
Infrared sauna in an apartment
Apartments work, with limits. Stick to a 1-person or small 2-person plug-in model on a standard 120V outlet, since you will not be running a new circuit in a rental. Read the lease first, because some prohibit heavy appliances, and a cabin on a wood floor is what a landlord asks about at the end of a tenancy. Put a protective mat under it either way.
Older buildings deserve a second look at floor loading, especially if the floor feels springy. Noise is mild but not zero, since the fan and the tick of relays carry through a quiet building. Think about the exit too: choose a model that comes apart with clips or bolts rather than glue or staples, and keep the packaging if you can.
Outdoors
A patio or garden placement removes the floor loading and indoor humidity questions at once. The rule is absolute: only a cabin explicitly rated for outdoor use survives outside. Indoor cedar and hemlock units are not sealed against rain, UV or frost and will warp within a season. Outdoor units also need a level pad and a GFCI protected circuit. Tested picks are in our best outdoor infrared saunas roundup.
Floor Loading and Putting a Sauna Upstairs
This is the question that stops people, and the answer is usually reassuring. An assembled 1-person cabin weighs roughly 200 to 300 pounds, a 2-person 300 to 500 pounds, a 4-person up to 750 pounds. Add occupants and a 2-person cabin in use might total 700 to 900 pounds.
What matters is that the weight is spread. A 2-person cabin covers about 14 square feet, so 900 pounds works out near 64 pounds per square foot, spread by the base across several joists. Residential floors are designed for a 40 pounds per square foot live load, a room average rather than a cap on one spot, and they routinely carry heavier concentrated items such as a loaded bookcase or a piano.
Reduce the risk with placement anyway. Put the cabin against or near a load bearing wall rather than mid-span, and orient the base so it crosses several joists instead of running parallel with one. If the floor bounces, the span is long, the building is old, or you are buying a 4-person cabin, have a structural engineer or experienced builder check the joist span first, the same way you would call a licensed electrician for a new circuit rather than guess.
Infrared Sauna Flooring: What to Put Underneath
Infrared cabins put little heat into the floor. The heaters face inward, the outer shell stays near room temperature, and the cabin has its own wooden floor. What matters is levelness, moisture, and how easy the surface is to wipe.
Whatever the surface, a floor protector mat is cheap insurance. It gives a flat level base, stops sweat reaching the floor finish, and makes the cabin easier to slide when you clean behind it. Do not seal the base down with silicone or tape, because the underside needs to breathe. On carpet, a thin plywood panel with a vapour barrier under the mat keeps the frame square.
On off-gassing: new cabins, glues and plastic mats smell for the first few sessions. Run two or three empty preheat cycles with a window open, and pick a mat that is heat stable rather than cheap foam tile.
Ventilation and Humidity in the Room
Infrared saunas are dry and generate no steam. What they generate is sweat, and a 30 minute session with the door opened afterwards puts real moisture into a small closed room. In a large basement it disappears. In a windowless room it shows up as damp air and, eventually, mildew behind the cabin.
The fix is undramatic. Give the room a way to exchange air: a window open for twenty minutes after a session, an extractor fan nearby, or a dehumidifier if the space is already damp. Leave the sauna door open afterwards so the interior dries rather than sealing humid air in overnight, and keep the roof vent open during sessions unless the manual says otherwise.
Assembly Logistics: Getting It Into the Room
A sauna arrives as flat boxes on a pallet, and the boxes are heavy and awkward rather than merely large. Panels for a 2-person cabin often run 60 to 70 inches long and 40 to 60 pounds each, and the glass front needs two people.
Measure the delivery route before ordering: front door, hallway turns, stair width at the handrail, ceiling over the stairs. A panel that clears a doorway can still fail at a 90 degree turn. Where curbside delivery is standard, arrange help, since the driver may leave the boxes at the driveway.
Assembly itself is straightforward. Most modern cabins use buckle clips: panels slot together, clips pull them tight, the roof drops on, and heater cables plug into labelled connectors. Two people, two to four hours, no tools beyond a screwdriver. Build it in the final position, since a finished cabin is hard to move far. Most can be taken apart again to move house, though each cycle is rougher on the wood and clips.
A Quick Word on the Electrical Side
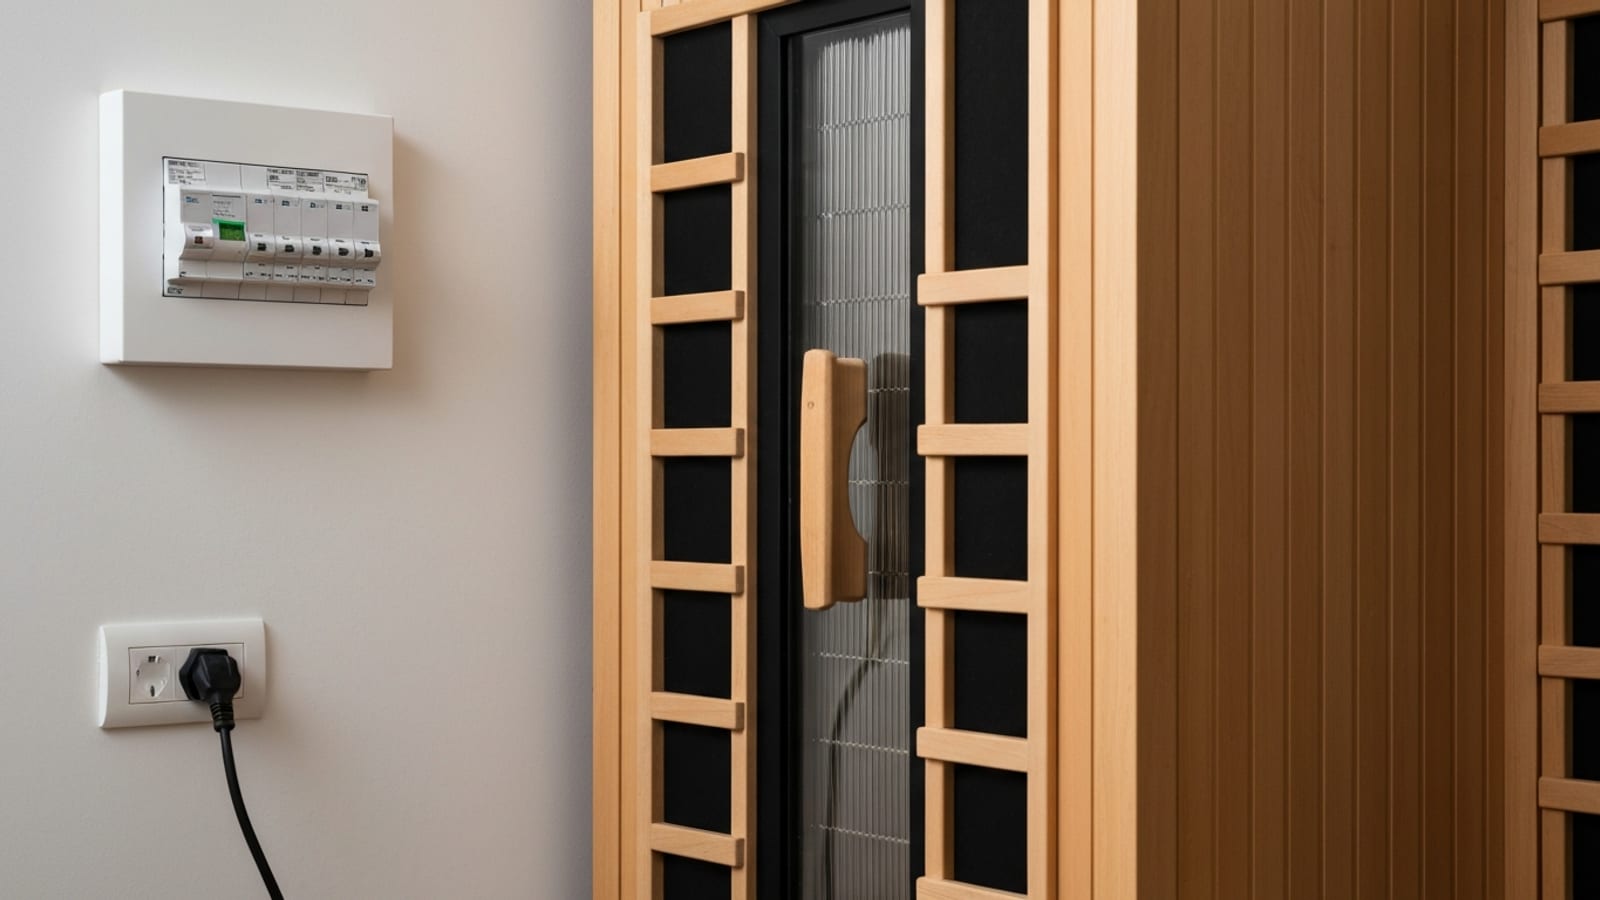
Placement and power are linked, because the outlet has to be close enough to reach without an extension cord. In short: most 1 and 2 person cabins run on a standard 120V outlet, larger and full-spectrum units often need a dedicated 20A or 240V circuit, and no sauna should run on an extension cord or power strip. Amperage by size, the continuous load rule and outdoor GFCI details are in our infrared sauna electrical requirements guide.
Any new circuit is a job for a licensed electrician, both for safety and because warranties expect a compliant installation. Budget for it early if your preferred room has no suitable outlet. Our infrared sauna cost guide shows where that sits against the price of the cabin.
Pre-Purchase Placement Checklist
Work through this with a tape measure before you order. Twenty minutes here is the difference between a smooth delivery day and a cabin sitting in boxes in the hallway.
- 01Lay out the cabin footprint plus 2 to 4 inches at the back and both sides, plus 24 to 30 inches in front for the door.
- 02Measure ceiling height. Cabins stand 74 to 78 inches, so allow 80 inches clear and check ducts, beams and light fittings.
- 03Measure every doorway, hallway turn and stair on the delivery route. Panels run 60 to 70 inches and do not bend.
- 04Confirm the floor is hard and level, or plan a protector mat. Check it with a spirit level before assembly day.
- 05Check the ambient temperature range in the manual for a garage or any room below about 50 degrees Fahrenheit.
- 06Read the electrical requirement off the spec plate and confirm an outlet is close enough for no extension cord.
- 07Confirm floor loading for any upper floor, especially with a 3 or 4 person cabin.
- 08Plan air exchange: a window, an extractor fan nearby, or a dehumidifier if the room is damp.
- 09Line up a second person and set aside two to four hours for assembly.
- 10Check return and warranty terms before delivery, since a cabin is awkward to send back.
The Short Version
Dry, level, hard floored, conditioned, close to a shower. A finished basement or spare room wins most of the time, a heated garage is a good second, an unheated garage needs a cold-rated model, and outdoors needs a cabin built for it. Leave a few inches at the sides, allow the door swing, and give the room a way to dry out.